Setting up
Setting up a robot vacuum so it finishes the job
Where the dock goes, what has to leave the floor, a maintenance calendar that costs about 4 hours a year, and the battery rules Health Canada publishes.
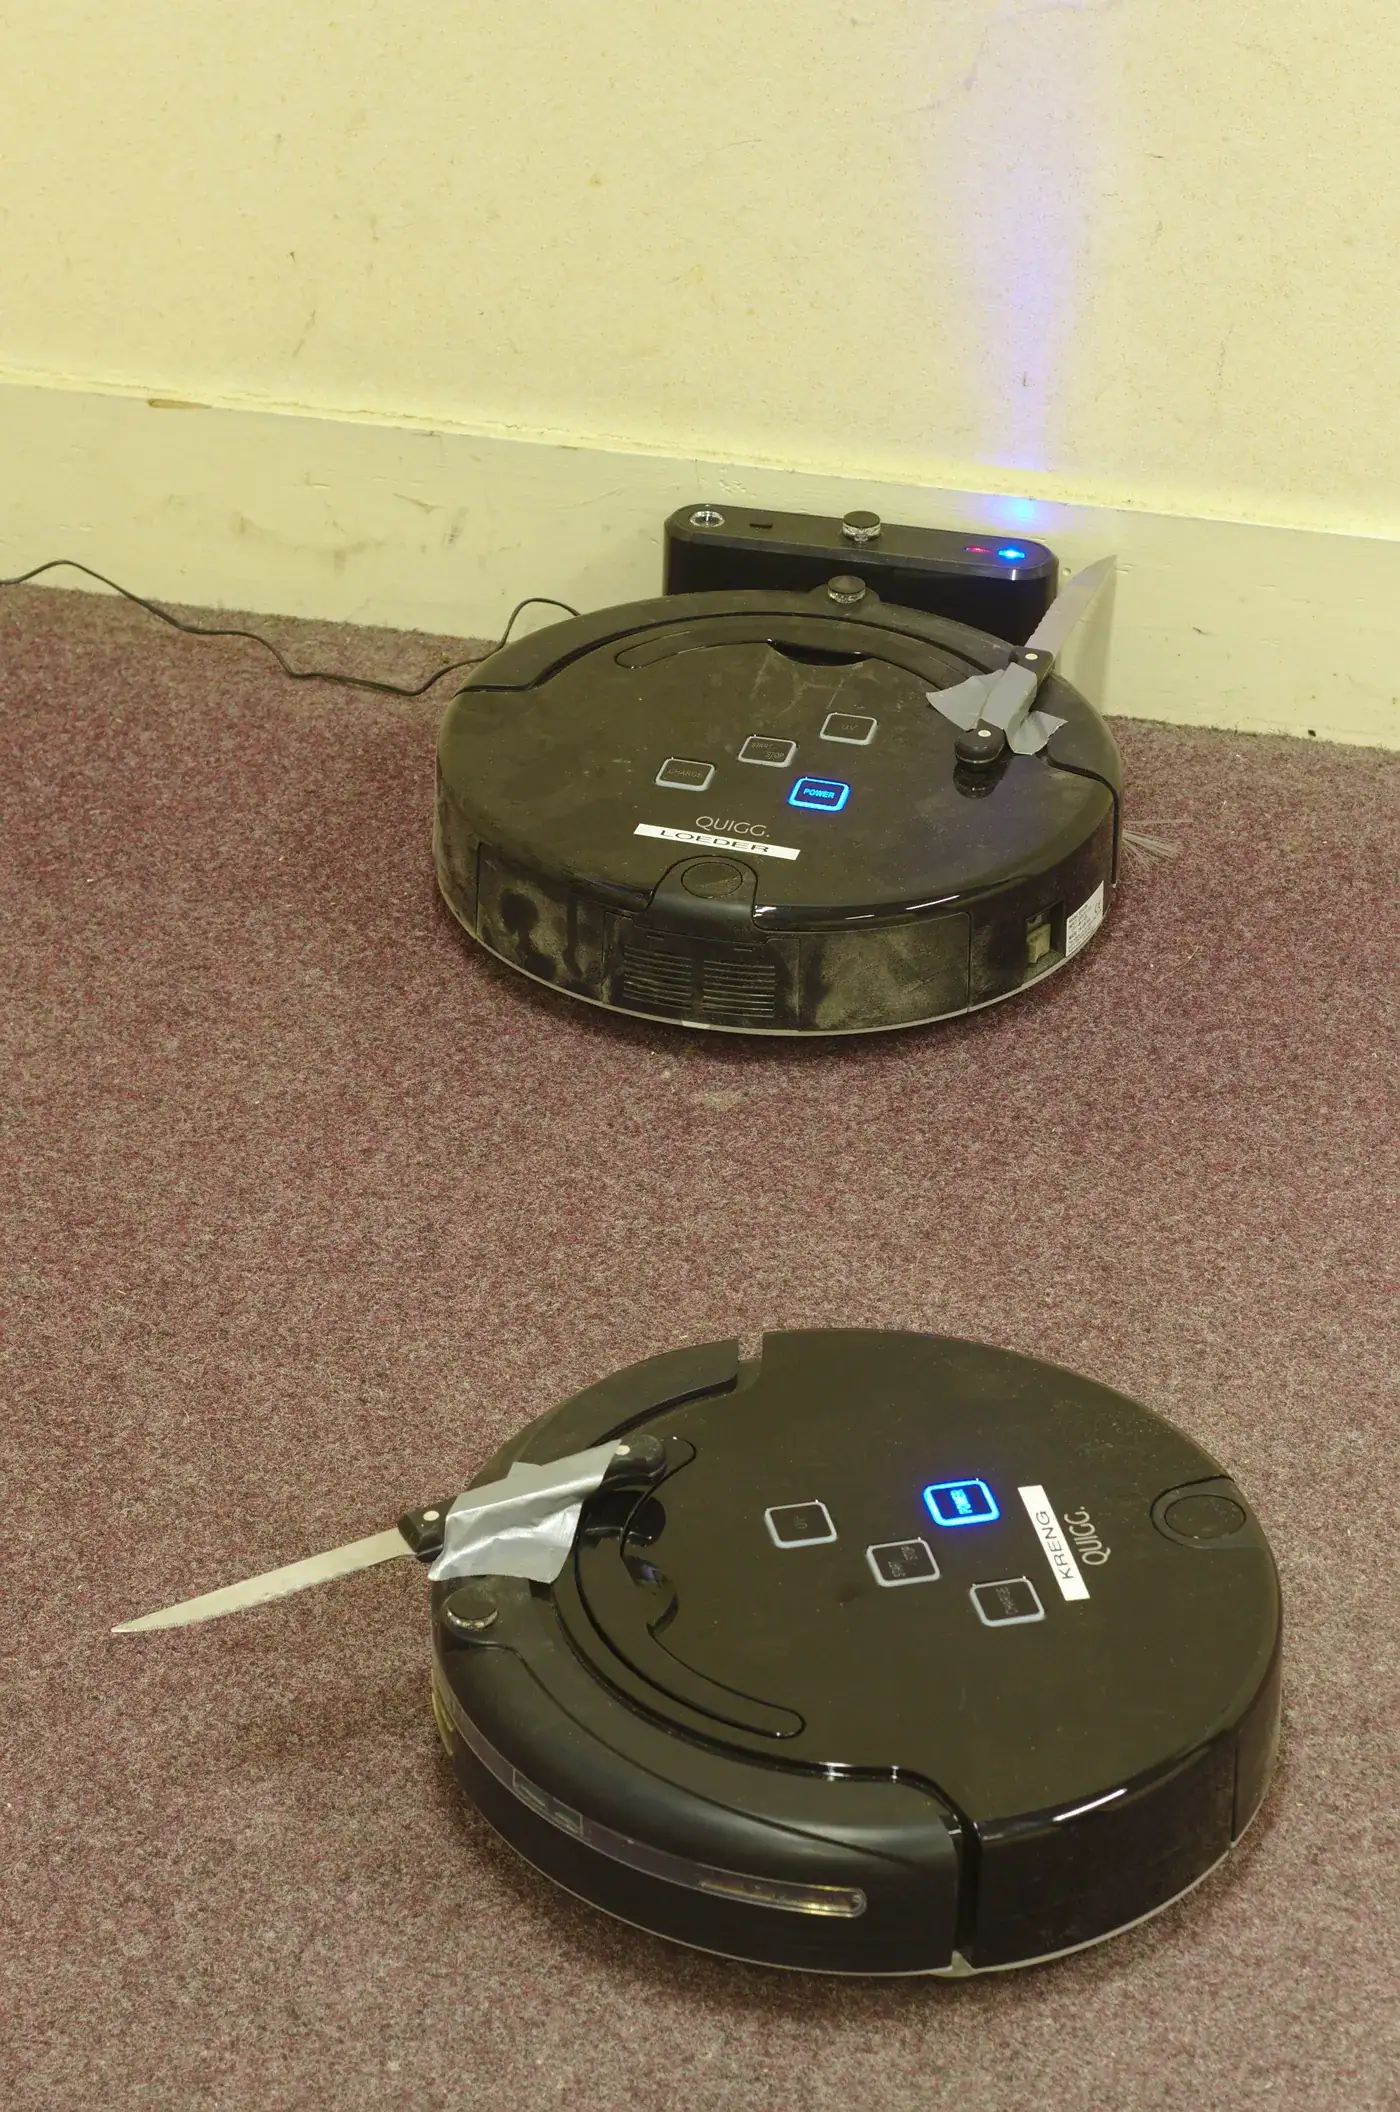
A robot vacuum that disappoints is usually a robot vacuum that has been dropped onto an unprepared floor. The machine is doing exactly what it was built to do; the room is not letting it.
This guide covers the four things that decide whether it finishes: what leaves the floor, where the dock goes, what maintenance actually costs in minutes, and the battery and charger rules Health Canada publishes. No machine on this site has been tested or supplied.
Prepare the floor before the first run
Three categories of object end a cleaning run early: anything stringy, anything with a lip, and anything dark. Charging cables, phone chargers, drawstrings and loose rug fringes wrap the brush bar. Door saddles and thick rug edges strand the chassis. Dark floors and dark rugs can read as a drop to a cliff sensor, which makes the robot refuse to cross them.
Deal with those once rather than every week. Cables go into a channel or up a wall. Rug fringes get tucked or the rug gets excluded. Light furniture that moves when nudged gets a decision: either it stays where the robot can map it, or it goes.
Run the first clean while you are in the room. Twenty minutes of watching tells you more about the specific obstacles in your home than any specification sheet, and the fixes are almost always permanent once made.
- Lift every loose cable off the floor and route it along a wall or into a channel
- Tuck or remove rug fringes and tassels
- Check thresholds and door saddles the robot has to climb, and note the ones it cannot
- Identify dark rugs and dark floors that the cliff sensor may refuse
- Move light furniture that shifts when the robot touches it
- Watch the whole first run and write down where it stops
Where the dock goes, and why it decides the map
The dock is the origin of the robot's map and the place every run begins and ends. Put it against a flat wall on a hard, level floor, with clear floor on both sides and a straight approach in front of it. A dock on a rug or in a corner makes docking unreliable, which turns into a half-finished clean and a flat battery.
Size the approach from the robot itself rather than from a generic figure: measure the robot's diameter and leave at least that much clear floor directly in front of the dock, so it has room to turn and line up. That is a measurement you can take with a tape in under a minute, and it is the one most small apartments get wrong.
Place the dock in the zone that needs cleaning most often, not in a cupboard. The robot cleans outward from it, so the rooms nearest the dock get the most reliable coverage on a short run and the most complete coverage on a long one.
| Placement | What happens | Verdict |
|---|---|---|
| Flat wall, hard floor, clear approach | Reliable docking, consistent map | Correct |
| Flat wall, but a rug under the dock | Dock shifts, alignment drifts | Move it |
| Inside a corner | Not enough room to turn and line up | Move it |
| In a cupboard with the door usually shut | Charges, then cannot leave on schedule | Move it |
| Against a wall with a cable crossing the approach | Brush wraps on the way home | Reroute the cable |
The clearance the robot needs in front is at least its own diameter, measured with a tape. The clearance each side is whatever lets you lift it out without moving the dock.
A maintenance calendar that costs about 4 hours a year
Robot maintenance is small, frequent and almost entirely about hair and dust. Clearing the brush bar and wiping the sensors takes about 5 minutes a week. Over 52 weeks that is 260 minutes, or 4 hours and 20 minutes a year, and it is the difference between a machine that performs in year three and one that does not.
The filter is the item most often left too long. A clogged filter reduces airflow, which looks exactly like a machine that has lost suction, and it is usually a 2-minute fix. Tap it out every 2 weeks and replace it on the interval in the manual.
Put the whole thing on a calendar once. The weekly job takes less time than finding the manual, and a written interval removes the question of whether it has been done.
| Job | Interval | Time each | Minutes a year |
|---|---|---|---|
| Empty the bin | Every run, or weekly | 1 minute | 52 minutes |
| Cut hair off the brush bar | Weekly | 3 minutes | 156 minutes |
| Wipe the cliff sensors and charging contacts | Weekly | 1 minute | 52 minutes |
| Tap out the filter | Every 2 weeks | 2 minutes | 52 minutes |
| Replace the filter | Per the manual | 2 minutes | 4 minutes |
| Replace side brushes | Per the manual | 3 minutes | 6 minutes |
| Total | 322 minutes |
The weekly jobs alone come to 260 minutes, about 4 hours and 20 minutes a year. With the fortnightly and occasional jobs the total is 322 minutes, under 5 hours and 30 minutes.
The battery and charger: the part with a published safety record
Robot vacuums run on lithium-ion cells, and Health Canada publishes specific guidance for them. Charge at room temperature where you can see the device, keep it off soft surfaces such as a couch or bed that trap heat, keep it away from exit doors in case of fire, and do not charge for longer than the manufacturer recommends.
On chargers the guidance is equally direct: use the one that came with the device, and if you replace it, buy from a trusted source and confirm the voltage and current match. It names the Canadian certification marks that indicate compliance — CSA, cUL and cETL among them — and warns that chargers without a recognized mark do not meet Canadian electrical safety standards.
The scale is published too. In its consultation notice on proposed new requirements under the Canada Consumer Product Safety Act, Health Canada reports 924 lithium-ion battery incident reports received between 2013 and 2023, of which 266 — 28.8% — involved injuries, including 3 fatalities. When the battery is finally replaced, it is hazardous waste and goes through a municipal collection route rather than household garbage.
When a robot is the wrong tool for a room
Some rooms will never work and it is cheaper to accept that than to keep adjusting. A room with a deep-pile rug the robot climbs onto and then cannot steer across, a workshop with regular hard debris, or a floor with a 3 cm threshold are all cases where the exclusion zone is the right answer.
Stairs are the obvious one. A robot cannot do them, which means a stick vacuum or a handheld remains in the house regardless, and that machine is what cleans the edges and the upholstery too.
A realistic division of labour is the robot on a schedule for open floor and a second machine weekly for everything else. That combination takes the daily work off a person entirely while keeping the 10% to 20% of floor the robot cannot reach from accumulating.
Before you buy
- Route every loose cable off the floor before the first run
- Tuck rug fringes and note any rug edge the robot cannot climb
- Measure the robot's diameter and leave at least that much clear floor in front of the dock
- Put the dock on hard, level floor against a flat wall
- Watch the whole first run and write down each place it stops
- Put the weekly 5-minute brush and sensor job on a calendar
- Charge at room temperature on a hard surface where you can see the machine
- Check the charger carries a CSA, cUL or cETL mark before using a replacement
Questions readers ask
- How often should a robot run?
- Often enough that each run is short. Daily runs on a lightly soiled floor finish faster, keep the bin from filling mid-run, and keep grit from being ground into hard floors. On the running-cost figures elsewhere on this site, moving from 5 to 14 cycles a week adds $5.61 a year in electricity, so frequency is a wear question rather than a cost question.
- Can the dock go in a cupboard?
- Only if the cupboard door stays open, which defeats the cupboard. The robot has to leave the dock on schedule and find its way back, and a closed door turns a scheduled clean into a flat battery in the middle of the floor. A dock against a flat wall with its own diameter of clear floor in front is the arrangement that works.
- Why does the robot miss the same corner every time?
- Usually one of three causes: a dark floor or rug edge the cliff sensor reads as a drop, a chair or table leg cluster it maps as impassable, or a threshold higher than its wheels can climb. Watch one run and the cause is visible within a minute. The fix is almost always to move an object rather than to change a setting.
- Is a self-emptying dock worth the extra cost?
- It removes the weekly bin job, which this guide prices at 52 minutes a year, and replaces it with a bag consumable. If the bags cost $40 a year, you are buying back under an hour of time a year at that price. For a household where someone is sensitive to the dust released when emptying a bin, the sealed transfer is the stronger argument.
Sources
- Health Canada — lithium-ion battery safety: charging, storage, certification marks and disposal — checked 2026-11-03
- Health Canada — notice of intent on proposed requirements for products containing lithium-ion batteries (924 incident reports, 2013 to 2023) — checked 2026-11-03
- Health Canada — consumer product safety: recalls, reporting and the Canada Consumer Product Safety Act — checked 2026-11-03
- Government of Canada — recalls and safety alerts register — checked 2026-11-03
Some links on this site can earn us a commission. That does not change which product a guide recommends, and it adds nothing to your price. Advertising is not enabled on this site yet. When it is, ads will be labelled and kept visually separate from the guides.